Coleman Mach Thermostat User Manual: A Comprehensive Guide
Welcome! This manual provides detailed instructions for your Coleman Mach thermostat, ensuring optimal performance and longevity. It’s designed to be a comprehensive resource,
covering everything from initial setup to advanced troubleshooting, as of today, 04/21/2026.
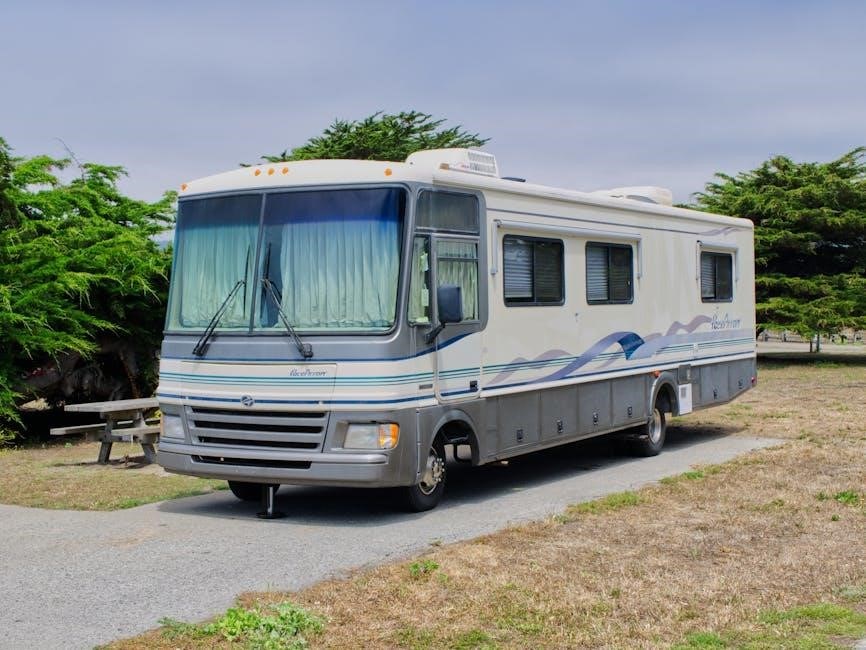
Coleman Mach thermostats are renowned for their reliability and efficiency in controlling the climate within recreational vehicles (RVs) and similar applications. These thermostats are specifically engineered to manage the cooling and heating systems commonly found in these environments, offering consistent comfort and user-friendly operation. Understanding the core functionalities of your Coleman Mach thermostat is crucial for maximizing its benefits.
This introduction will lay the groundwork for a deeper understanding of your thermostat’s capabilities. We’ll explore the fundamental principles behind its operation, highlighting how it interacts with your RV’s air conditioning and heating units. Proper utilization ensures a comfortable interior, regardless of external weather conditions. The goal is to empower you with the knowledge to confidently operate and maintain your system.
Coleman Mach prioritizes ease of use, incorporating intuitive controls and clear displays. However, a thorough understanding of the thermostat’s features, as detailed in this manual, will unlock its full potential. This guide will navigate you through the various settings and functions, providing a clear path to optimal climate control within your RV.
Understanding Thermostat Models
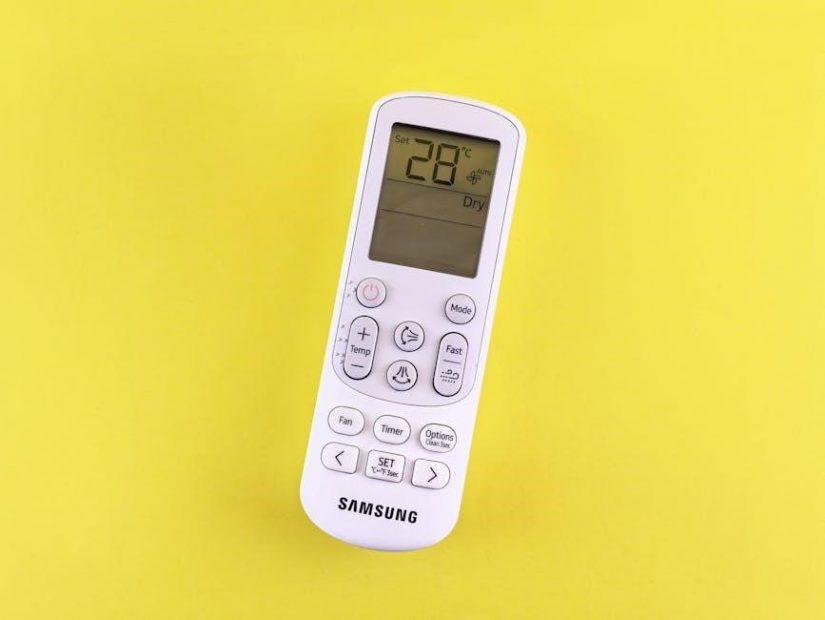
Coleman Mach offers a diverse range of thermostat models, each tailored to specific RV configurations and user preferences. These models vary in features, functionality, and complexity, from basic manual controls to advanced digital programmable units. Identifying your specific model is the first step towards effective operation and troubleshooting.
Older models often feature simple dial controls for temperature and fan speed, prioritizing straightforward usability. Newer digital models boast LCD displays, programmable schedules, and remote control capabilities, offering enhanced convenience and precision. Some models include features like auto-restart after power outages and multiple zone control for larger RVs.
Understanding these distinctions is vital for accessing the correct information and support resources. This manual aims to cover the most common features found across various Coleman Mach thermostats. However, always refer to the specific documentation included with your model for detailed instructions and unique functionalities. Knowing your model number will streamline the process of finding relevant information and assistance.
Thermostat Wiring Diagrams – Key Concepts
Understanding the wiring behind your Coleman Mach thermostat is crucial for installation, troubleshooting, and ensuring safe operation. Thermostat wiring typically involves low-voltage DC circuits controlling the air conditioner and fan. Key components include the power wire (often red), the cooling control wire (usually blue), and the fan control wire (typically green or white).
Wiring diagrams illustrate how these wires connect the thermostat to the air conditioning unit. Common configurations include parallel and series wiring, depending on the model and system design. Always disconnect power before working with any wiring. Incorrect wiring can damage the thermostat, the air conditioner, or even pose a safety hazard.
Familiarize yourself with wire colors and their corresponding functions. A common wire (often ‘C’) provides a return path for the power supply. Proper grounding is also essential for safety and performance. If you are uncomfortable working with electrical wiring, consult a qualified technician. Accurate wiring is paramount for optimal system functionality.
Identifying Your Specific Coleman Mach Thermostat Model
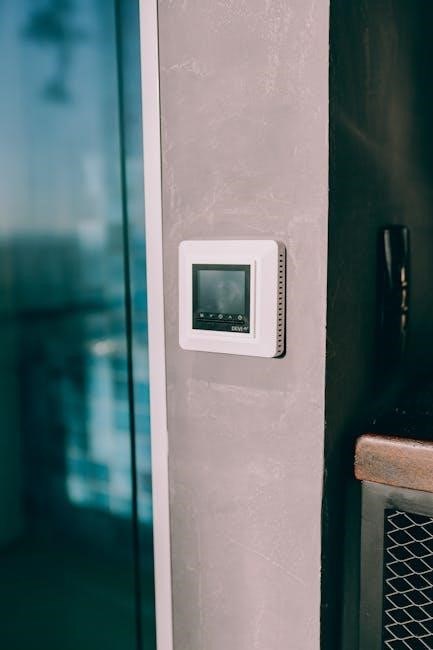
Accurate identification of your Coleman Mach thermostat model is the first step towards accessing the correct documentation and support. Coleman Mach offers a variety of thermostat models, each with unique features and wiring configurations. The model number is typically located on a sticker affixed to the back or side of the thermostat unit itself.
Look for a label containing alphanumeric characters, such as “9230-3456” or “BT8200”. Note this number carefully, as it will be essential when searching for specific wiring diagrams, troubleshooting guides, or replacement parts. If the sticker is damaged or missing, consult the original installation paperwork or contact Coleman Mach customer support.
Different models support varying functionalities, including programmable settings, remote control compatibility, and digital displays. Knowing your specific model ensures you’re referencing the correct information for your system. Incorrect information can lead to improper installation or troubleshooting, potentially damaging your equipment. Record your model number for future reference.
Basic Operation: Powering On & Initial Setup
Powering on your Coleman Mach thermostat is usually straightforward. For most models, simply ensuring the main power supply to your RV or vehicle is active will automatically power the thermostat. Some battery-powered units require inserting fresh batteries – refer to the battery replacement section for details. Upon initial power-up, the thermostat will typically run a self-diagnostic check, indicated by a brief display sequence.
Initial setup may involve setting the clock and date. This is usually done through the thermostat’s control buttons. Consult your specific model’s instructions for the exact procedure. Some newer digital models may offer a guided setup wizard. Ensure the correct time is set for accurate scheduling if your thermostat has programmable features.
Verify the system mode is set to your desired operation (cooling, heating, or fan only). The thermostat should now be ready to control your Coleman Mach air conditioning or heating system. Familiarize yourself with the button layout and display indicators before proceeding.
Setting the Temperature – Cooling Mode
To activate cooling mode on your Coleman Mach thermostat, first ensure the system switch is set to “Cool” or “Auto”. Using the “Up” and “Down” arrow buttons (or equivalent on your model), adjust the desired temperature. The thermostat will display the setpoint temperature. Lowering the setpoint initiates cooling; raising it stops it. A typical comfortable range is between 72°F and 78°F, but adjust to your preference.
Observe the display for indicators confirming the cooling system is active. This often includes a snowflake icon or the word “Cool” illuminated. The compressor will engage, and cool air will begin circulating. Allow sufficient time for the system to reach the set temperature.
Fan speed control is often integrated with cooling mode. Select “Auto” for automatic fan cycling or choose a specific fan speed (Low, Med, High) for continuous airflow. Experiment with different settings to find the optimal balance between comfort and energy efficiency. Remember to avoid excessively low temperatures for prolonged periods.
Setting the Temperature – Heating Mode (If Applicable)
If your Coleman Mach thermostat supports heating, switch the system selector to “Heat” or “Auto”. Utilize the “Up” and “Down” arrow buttons (or corresponding controls on your specific model) to establish your desired temperature. Increasing the setpoint activates the heating system; decreasing it deactivates it. A comfortable heating range generally falls between 68°F and 75°F, though personal preference dictates the ideal setting.
Confirm heating operation by checking for visual cues on the display, such as a flame icon or the word “Heat” illuminated. The heating element will engage, and warm air will begin to circulate. Allow adequate time for the system to reach the selected temperature.
Fan operation during heating is often configurable. Choose “Auto” for automatic fan cycling with the heating element, or select a specific fan speed for continuous warm airflow. Adjust fan speed to balance comfort and energy usage. Avoid setting excessively high temperatures for extended durations to conserve energy.
Fan Control & Airflow Settings
Your Coleman Mach thermostat offers comprehensive fan control, allowing you to customize airflow for optimal comfort. Most models feature multiple fan speeds – typically “Low,” “Medium,” and “High” – selectable via dedicated buttons or a rotary dial. The “Auto” setting synchronizes fan operation with the cooling or heating cycle, providing efficient airflow only when needed.
Experiment with different fan speeds to find the balance between air circulation and noise level that suits your preferences. Lower speeds are quieter and consume less energy, while higher speeds deliver maximum cooling or heating. Some thermostats include a “Circulate” or “Continuous Fan” mode, keeping the fan running constantly to improve air mixing and temperature consistency.
Proper airflow is crucial for efficient system performance. Ensure vents are unobstructed and that the return air grille is not blocked. Regularly inspect and clean the air filter to maintain optimal airflow and air quality. Adjust fan settings based on room size and occupancy for personalized comfort.
Troubleshooting Common Issues: No Power
If your Coleman Mach thermostat displays no power, begin with the simplest checks. First, verify the power source – is the circuit breaker controlling the thermostat tripped? Reset it if necessary. Next, inspect the wiring connections at both the thermostat and the air conditioning/heating unit. Ensure all wires are securely fastened and haven’t come loose.
For battery-powered models, confirm the batteries are fresh and correctly installed, observing proper polarity. Even seemingly new batteries can sometimes be defective, so testing with a known good set is advisable. If the thermostat is hardwired, use a multimeter to check for voltage at the thermostat terminals.
If voltage is present at the terminals but the thermostat remains unresponsive, the unit itself may be faulty and require professional repair or replacement. Do not attempt to disassemble or repair the thermostat yourself, as this could void the warranty and pose a safety hazard. Always prioritize safety and consult a qualified technician.

Troubleshooting Common Issues: Incorrect Temperature Readings
Experiencing inaccurate temperature readings on your Coleman Mach thermostat can lead to discomfort and inefficient operation. First, ensure the thermostat isn’t directly exposed to sunlight, drafts, or heat-generating appliances. These external factors can significantly skew readings. Check for obstructions blocking airflow around the thermostat; dust accumulation can also contribute to inaccuracies.
Calibrate the thermostat if your model offers this feature. Refer to the “Advanced Features” section of this manual for specific calibration instructions. If calibration doesn’t resolve the issue, verify the thermostat’s sensor isn’t damaged. A faulty sensor will require replacement.
Compare the thermostat’s reading with a reliable thermometer placed nearby. A consistent discrepancy indicates a problem with the thermostat itself. If the readings are consistently off by a significant margin, professional service may be needed to diagnose and rectify the underlying cause. Avoid prolonged use with incorrect readings.
Troubleshooting Common Issues: Fan Not Working
If your Coleman Mach thermostat’s fan isn’t operating, several potential issues could be at play. Begin by verifying the power supply to the unit. Check the circuit breaker or fuse responsible for the air conditioning system; a tripped breaker or blown fuse is a common cause. Ensure the thermostat is set to “Fan On” or “Auto” mode, and that the temperature setting is appropriately configured to trigger fan operation.
Inspect the fan motor itself for any visible obstructions or damage. A jammed fan blade or a faulty motor capacitor can prevent the fan from spinning. If you’re comfortable doing so, carefully check the wiring connections to the fan motor for looseness or corrosion.
If the problem persists, the fan motor may require replacement; Caution: working with electrical components can be dangerous. If you’re not experienced with electrical repairs, consult a qualified HVAC technician for assistance. Do not attempt repairs beyond your skill level.
Troubleshooting Common Issues: Unit Cycles Incorrectly
If your Coleman Mach unit is short-cycling (turning on and off frequently) or failing to cycle at all, several factors could be responsible. A common cause is a dirty air filter, restricting airflow and causing the unit to overheat and shut down prematurely. Regularly replacing or cleaning the air filter is crucial for optimal performance.
Check the thermostat’s settings to ensure it’s not set to a temperature that’s too far from the room temperature. A significant difference can cause rapid cycling. Also, verify that the thermostat is correctly calibrated; an inaccurate temperature reading can lead to improper cycling.
Low refrigerant levels can also cause short-cycling. This requires professional attention, as refrigerant handling requires specialized equipment and certification. Caution: Do not attempt to recharge the refrigerant yourself. Contact a qualified HVAC technician for diagnosis and repair. Incorrect cycling can indicate a more serious issue, so prompt attention is advised.
Replacing Batteries (For Battery-Powered Models)
For Coleman Mach thermostats that operate on batteries, maintaining fresh power is essential for accurate temperature control and reliable operation. A low battery indicator, typically displayed on the thermostat screen, signals the need for replacement. Use only the battery type specified in your model’s documentation – usually AA or AAA alkaline batteries.

To replace the batteries, carefully remove the thermostat cover, often by gently prying it open or releasing a latch. Locate the battery compartment and remove the old batteries, noting the correct polarity (+ and -). Insert the new batteries, ensuring they are oriented correctly.
After replacing the batteries, reattach the thermostat cover. The unit should power on automatically. If it doesn’t, double-check the battery polarity and ensure the batteries are making good contact. Important: Dispose of used batteries responsibly, following local regulations for battery recycling.
Cleaning and Maintenance
Regular cleaning and maintenance will ensure your Coleman Mach thermostat continues to function optimally for years to come. Dust and debris can accumulate, potentially affecting accuracy and responsiveness. To clean the thermostat, begin by turning off the power to the unit at the breaker or switch.
Use a soft, dry cloth to gently wipe the exterior of the thermostat. Avoid using abrasive cleaners, solvents, or excessive moisture, as these can damage the unit’s finish or internal components. For stubborn dirt, lightly dampen the cloth with water, ensuring it’s wrung out thoroughly before wiping.
Do not disassemble the thermostat for cleaning. Focus on the exterior surfaces only. Periodically inspect the thermostat for any signs of damage, such as cracks or loose connections. Important: Always ensure the unit is completely dry before restoring power.
Understanding Error Codes & What They Mean
Coleman Mach thermostats utilize error codes to diagnose potential issues within the cooling or heating system. These codes provide valuable insights, helping you or a qualified technician pinpoint the source of the problem efficiently. Error code displays typically appear on the thermostat’s screen, often accompanied by a flashing indicator.

A code like “E1” might indicate a sensor malfunction, while “E2” could signal a communication error between the thermostat and the air conditioning unit. Refer to the specific error code list in the appendix of this manual (or on the Coleman Mach website) for a detailed explanation of each code.
Do not attempt to repair the system based solely on the error code. Always consult a qualified HVAC technician for proper diagnosis and repair. Ignoring error codes or attempting unauthorized repairs could void your warranty and potentially cause further damage. Document the error code before contacting service.

Advanced Features: Programmable Settings (If Applicable)
Certain Coleman Mach thermostat models offer programmable settings, allowing for customized comfort and energy savings. Programming enables you to create schedules that automatically adjust the temperature based on your daily routine. This feature is ideal for optimizing climate control while minimizing energy consumption when you’re away or asleep.
To access the programming mode, typically you’ll need to press and hold the “Program” or “Schedule” button. The interface will then guide you through setting different temperature points for various times of the day and days of the week. Consider your lifestyle when creating a schedule – for example, lower temperatures while at work and comfortable settings for evenings.
Explore options like “Wake,” “Leave,” “Return,” and “Sleep” presets. Remember to save your programmed settings after completion. Refer to your specific model’s detailed programming instructions for a complete understanding of all available features and customization options.
Safety Precautions & Important Notes
Always disconnect power to the air conditioning unit at the breaker box before performing any maintenance or troubleshooting on the thermostat. Never attempt to disassemble or repair the thermostat internally, as this could result in electrical shock or damage to the unit. Ensure proper ventilation around the thermostat to prevent inaccurate temperature readings.
Keep the thermostat dry and avoid exposing it to excessive moisture or direct sunlight. Do not use abrasive cleaners or solvents when cleaning the thermostat; a soft, damp cloth is sufficient. If you notice any unusual smells, sounds, or smoke emanating from the thermostat or air conditioning unit, immediately turn off the power and contact a qualified technician.

This thermostat is designed for use with compatible Coleman Mach air conditioning systems only. Using it with other systems may cause damage or malfunction. Regularly inspect wiring for any signs of wear or damage, and replace as needed. Prioritize safety and consult a professional if you are unsure about any aspect of installation or operation.
